Listings Resources
Overview
Resources are specific details about a listing. For example, in case of a Hotel, they can be the different types of rooms that the hotel offers, while in case of a property with multiple villas, it can be different types of villas that are offered. Bookings are always made against a resource type that exist for a listing.
Managing resources for a listing
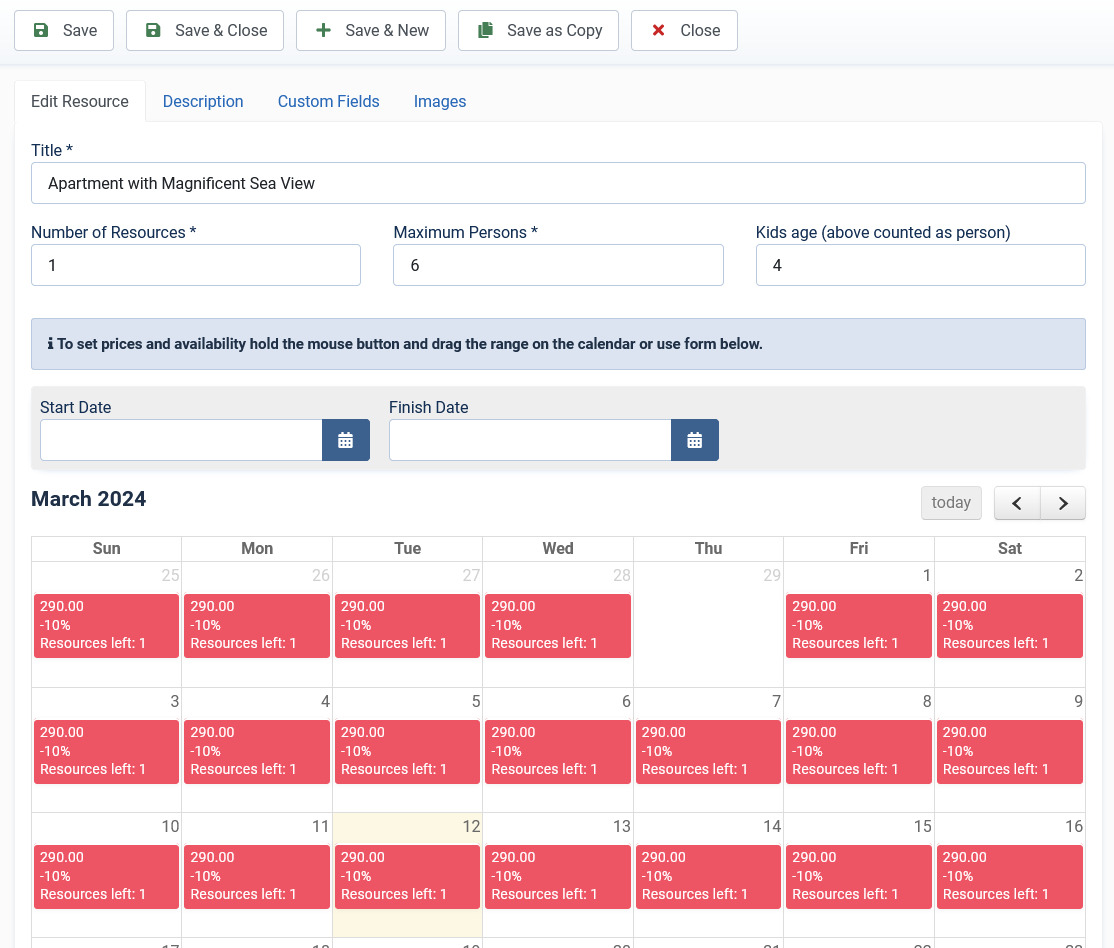
For a listing created, you can either add a new resource or view the existing resources for that listing. These resources include the custom fields that were created using the Objects Custom Fields screen. The following screen shows the resources options. Please notice that for booking calendar Booking type must be Resource. Tours have static dates.
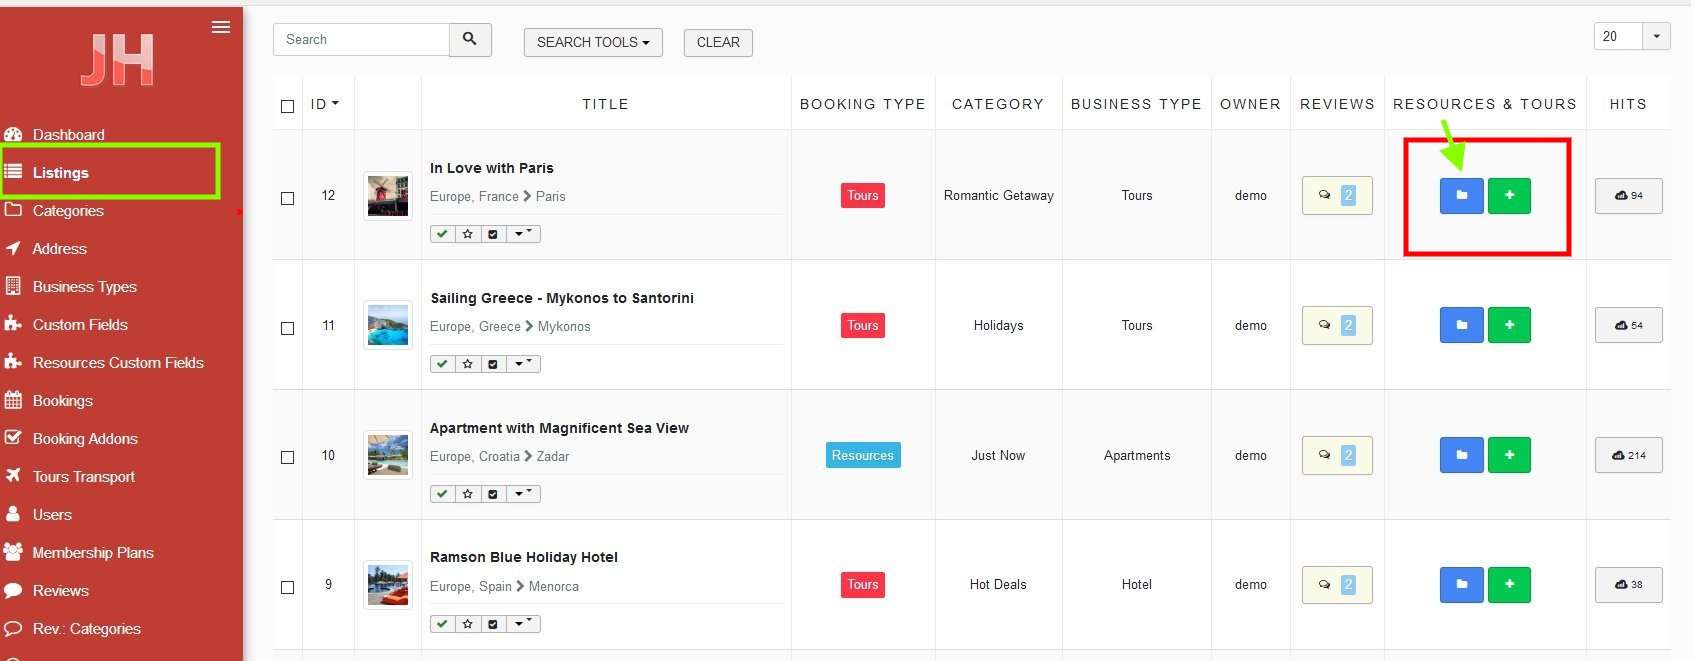
Screen 2: Resources options
To view the resources attached to a listing, click the FOLDER icon. To quickly create and add a new resource to the listing, click the PLUS icon. List of resources will appear. Click on resource title:

Add/Edit Resource tab
This tab provides options to create a name and alias for the type of resource.
Provide the options as seen in the following table.
| Title | Provide a name for the resource. |
| Alias | Provide an SEO-friendly alias. |
| Number of Resources | Number of resources same type available |
| Maximum Persons | Maximum number of people that can be accomodated. |
| Toggle Approve | Approved or not. |
| Modify Date | Select a effective date for the resource. |
| ID | This is an auto-generated field. |
Description tab
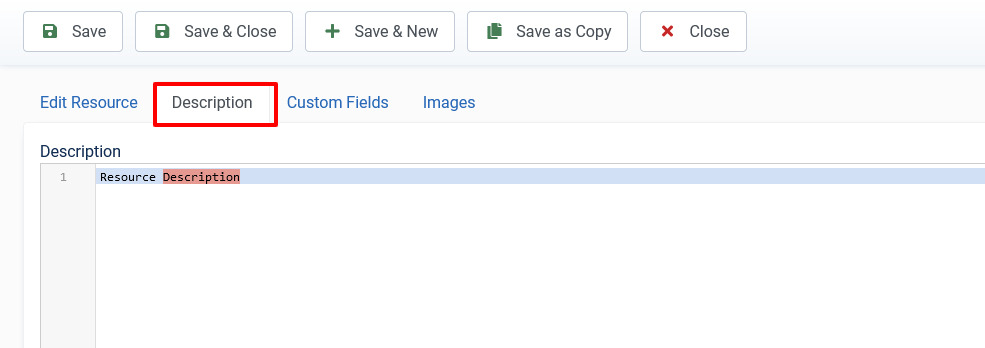
This tab provides the option to provide a detailed description about the resource.
Screen 3: Description tab
Provide the options as seen in the following table.
| Description | Provide a description for the resource. |
| Toggle Editor | Click to toggle between rich text and plain text editor. |
Custom Fields tab
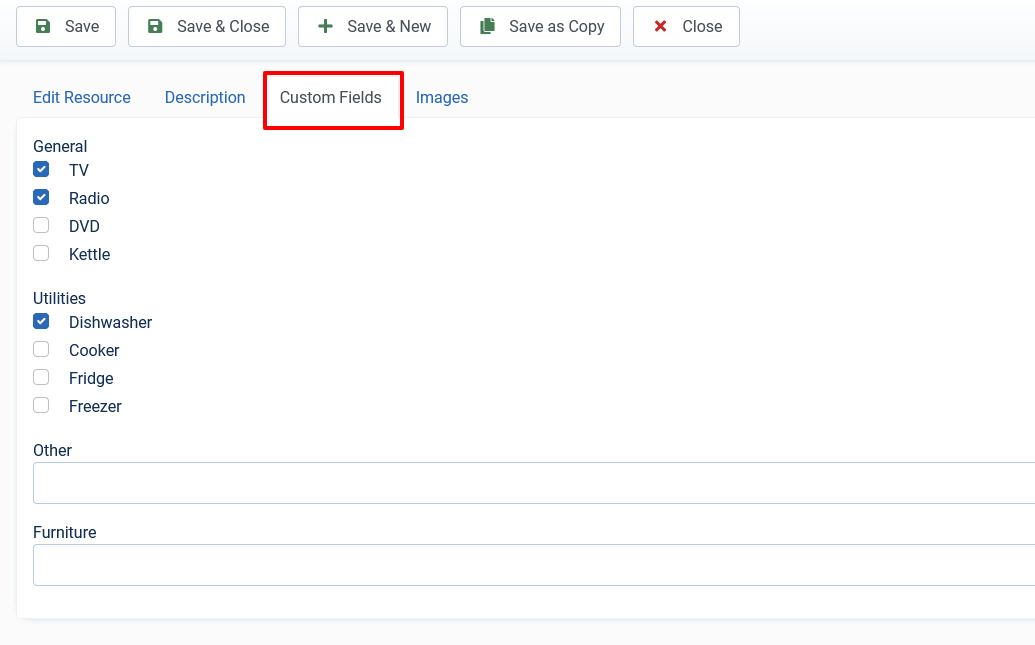
This tab provides options to add required objects that were created using the Objects Custom Fields screen.
Screen 4: Custom Fields tab
Images tab
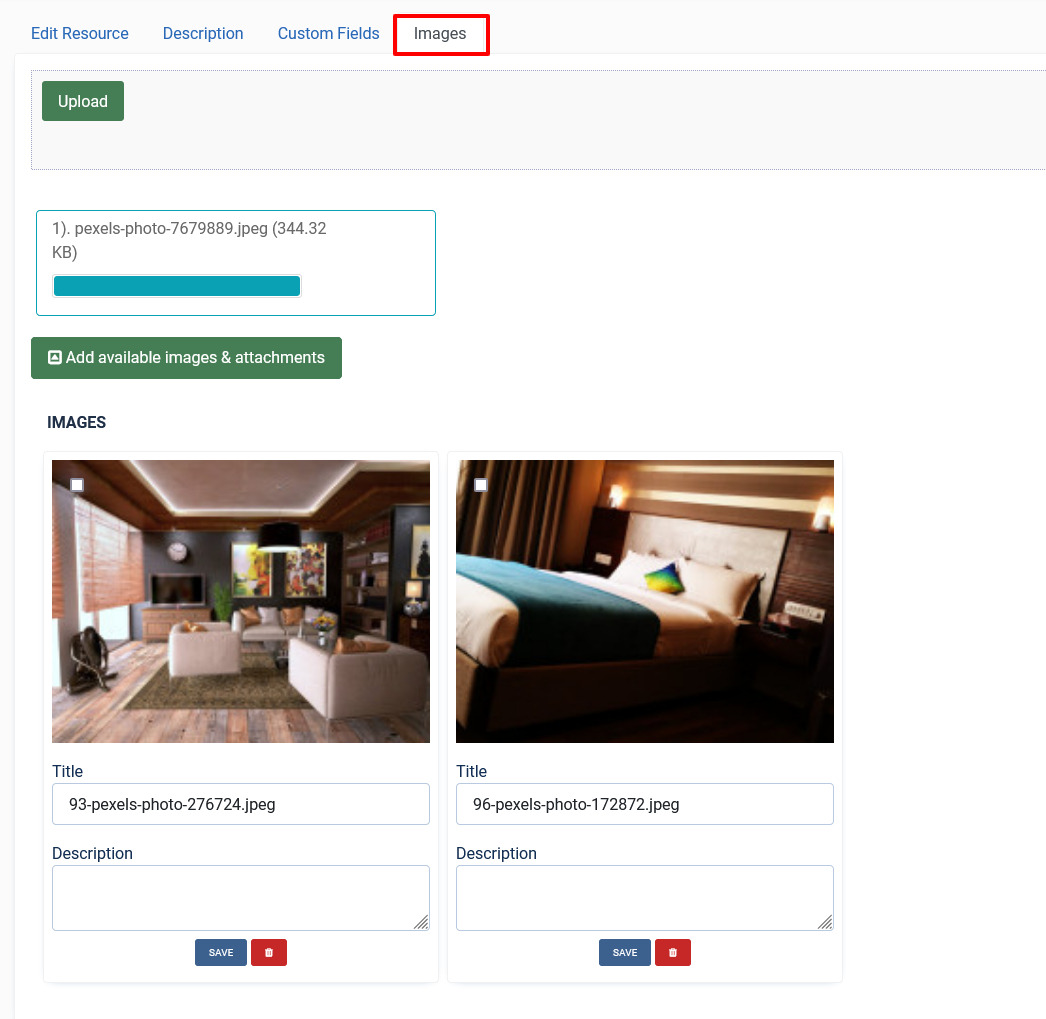
This tab includes information about images and videos attached to the listing. Before you can add images to the listing, you must save your listing at least once. This ensure that all the other data you have filled for the listing does not disappear after the images are added.
The Images tab can be seen as shown in the following image:
Screen 4: Images tab
Provide options as seen in the following table.
Images |
Add file area |
Add Files |
Click to select the image that needs to be uploaded. |
|
Drag & Drop Files Here |
Drag a bunch of images to this area to upload multiple images. |
||
|
Add available images & attachments |
Click to add already uploaded images and attachments to this listing. |
||
|
Images area |
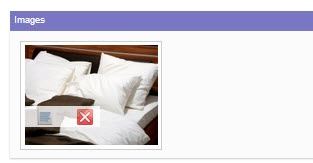
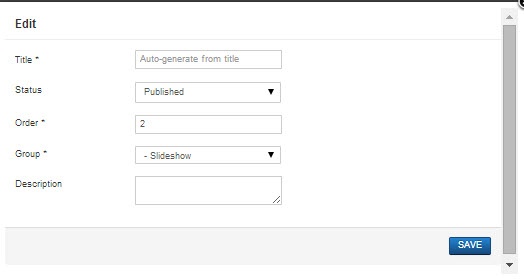
Editing an Image |
Click the Click the |
Pricing for Resources
In the calendar seen in the earlier image, the dates marked with black ink are booked dates. This means there are no additional resources available for those dates. While, the dates marked with red ink are dates when resources are still available. This means a guest can make bookings against these dates marked in red.
Each date shows the price of the resource on that day and how many resources are left as shown in the following image.

Screen 4: Dates display
You can modify the price for the resource on each day by clicking on the date. Provide the pricing for that day for the resource. The following image shows the price window for the resource.
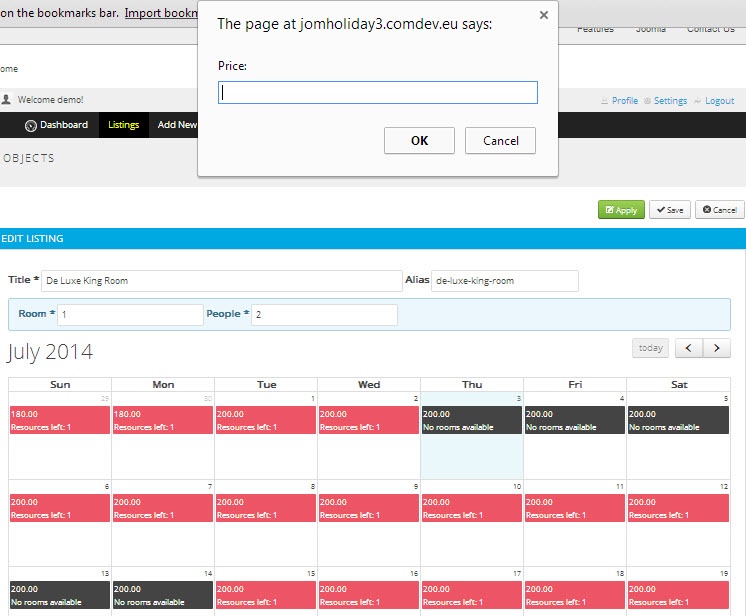
Screen 5: Price window
You can also provide promotional discounts for the listing on specific dates. After you provide the price for a date, the promotional discount window is seen as shown in the following image. Provide a percentage value as seen here.
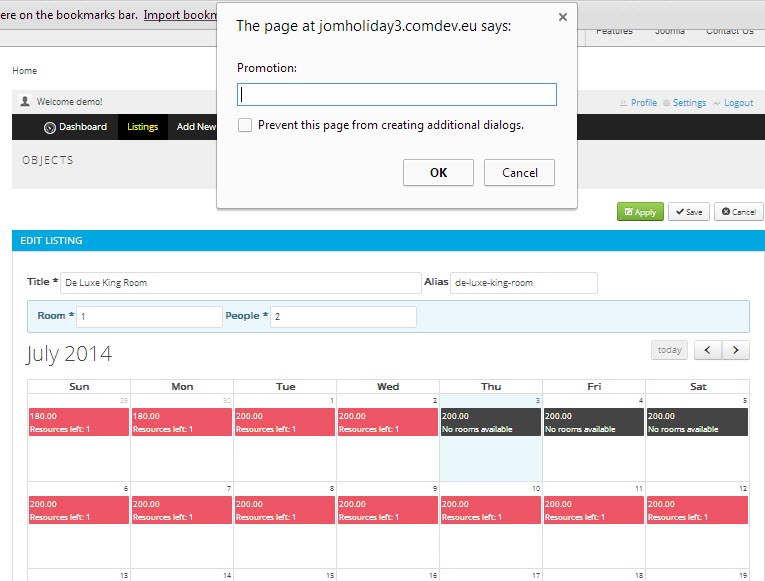
Screen 6: Promotional discount
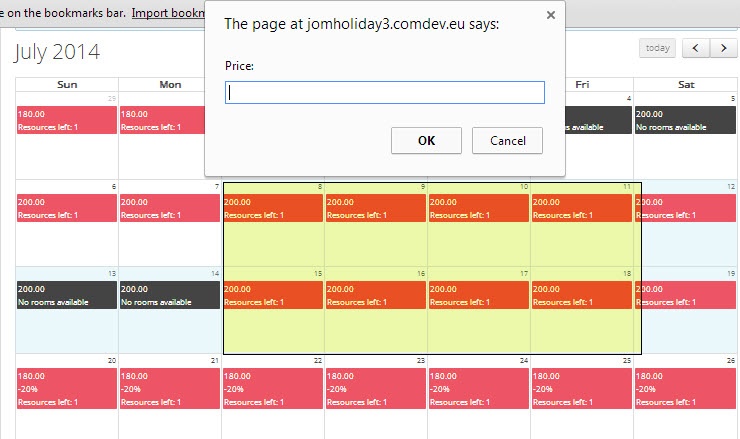
If you need to set the same price and promotional discount for a range of dates, you can drag the mouse across the required dates and provide the price details as shown in the following image.
