Manage Listings
Overview
You can view all the listings created for your site or create a new listing. The listings created let you add descriptions, images, provide ratings, and much more.
Creating a New Listing
The following image shows the Listings screen.
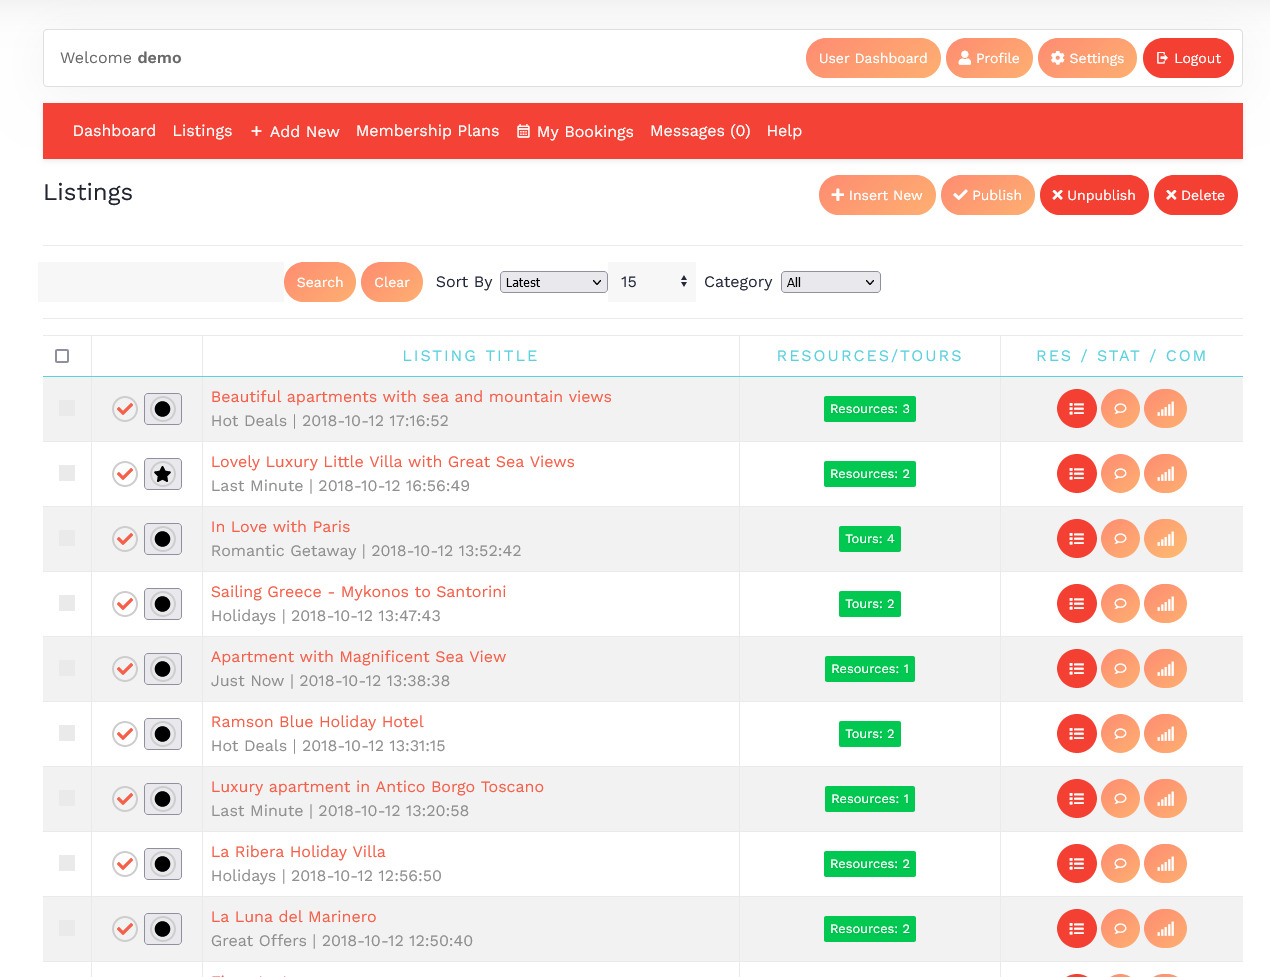
Screen 1: Listing screen
The following table explains the different options seen on the screen.
Adding a new listing
To create a new listing, click Add New from the Dashboard Menu list. The new listing page is displayed.
New Listing tab
This tab provides options to add title, description, select category, and other options for the Listing as seen in the following image:
The following table shows the options available:
|
Area |
Options |
Usage |
|
Edit Listing area |
Title |
Title for the Listing. |
| Alias | Provide an SEO-friendly alias. | |
| Category | Select the category for the listing. | |
| Types | Select the business type for the listing. | |
| Advance Payment | Select the advance payment that the guests should pay to confirm the booking in percentage. | |
|
Text Area |
Provide a description for the listing. |
|
|
Page Break Button |
Insert a page break in the displayed text. |
|
|
Toggle editor Button |
Toggle between plain text and rich text editor |
|
|
Read More Button |
Insert a separation for creating short description. Any content above the dotted line is displayed as the short description. In the above image, the red dotted line appears when you click Read More. Any content above the red line is the short description, while the entire content is the long description. Also, note that if there is no content after the Read More tag, the event description will be blank when users view the listing. Ensure that you have content after the Read More tag.
|
|
|
Status |
Select the required status.
|
|
|
Featured |
Enable to make the listing appear as featured listing. Feature Count is being checked when saving listing for the selected Membership Plan.
|
|
|
Language |
Select the language for which the listing needs to appear for. For multiple languages, you must create separate entries for each language. |
|
|
Tags |
Provide the tags related to the listing. | |
|
Address area |
Address |
Address of the listing |
|
Full address |
Street and house number of the listing - If both Address and Full Address specified, map location will position automatically. |
|
|
Location area |
Latitude |
It utilizes the GEO-location based on Google Maps. Provide the latitude information for the location mapping. |
|
Longitude |
The information provided in this field is used to map the exact location. It utilizes the GEO-location based on Google Maps. Provide the longitude information for the location mapping. |
|
|
Maps Search |
Search for a specific location. Type in the location and press Enter to go to the exact location. |
More Options tab
This tab includes all the custom fields created for a particular category. If the custom field is not applied to a specific category, it can be seen for all categories when creating a listing. The following image shows the More Options tab screen.
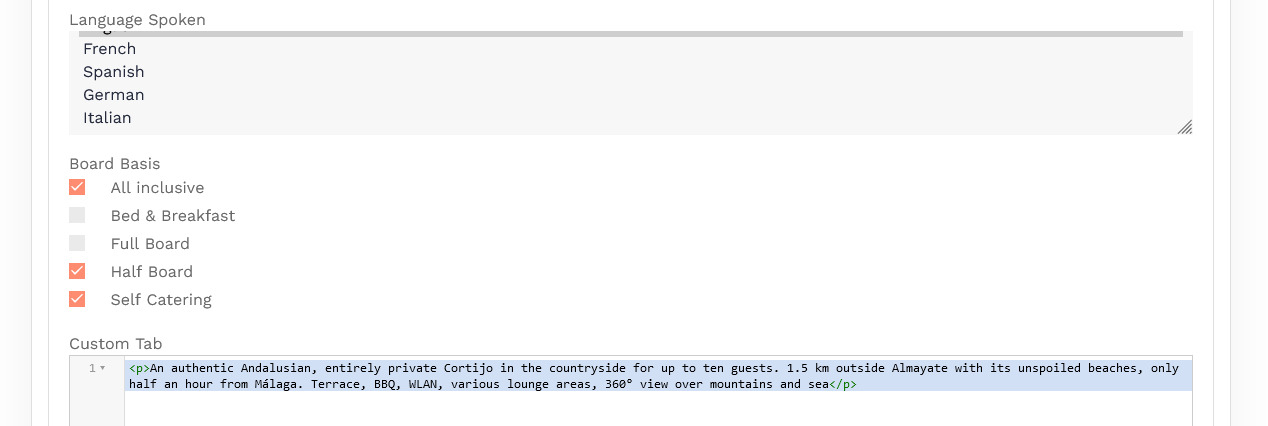
Screen 3: Other Details tab
For more information about creating custom fields, see Custom Fields.
Images tab

Screen 4: Images tab
To add an image, do the following:
- Click Add Image.
- Provide options as seen in the following image.

You can provide values using the following table.
-
Click Save.Title or alias
Provide a title for the Image.
Categories
Select from the following options:
- Slideshow - detailed view main gallery
- Gallery - in gallery tab
- Logo - displayed in sidebar under custom fields and over the image with transparency in listings page.
Status
Select the required status.
- Published
- Unpublished
- Trashed
- Archived
Order
Order in which you want the image to appear.
File
Click Choose File and provide the image.
Description
Provide a description about the image.
For more information about editing images or deleting images, see Images in the Administrative Guide.
You can also provide YouTube video links for the listing. Provide the link as shown in the above image.
Addons tab
You can select the addons that will be provided for the listing.

Screen 5: Addons tab
Attachments tab
Click the ![]() Edit icon to edit an attachment that is linked to the listing. Click the
Edit icon to edit an attachment that is linked to the listing. Click the ![]() Delete icon to delete the attachment.
Delete icon to delete the attachment.
Attachments are detected automatically based on file extension that’s are allowed in Configuration.