Listing as Tours
Overview
Tours are time based trips with fixed dates and prices, just like Resources, multiple Tours can be created. To create a tour for the listing, first it needs to be set under listing.
Managing Tours for a listing
For a listing created, you can either add a new tour or view the existing tours for that listing.
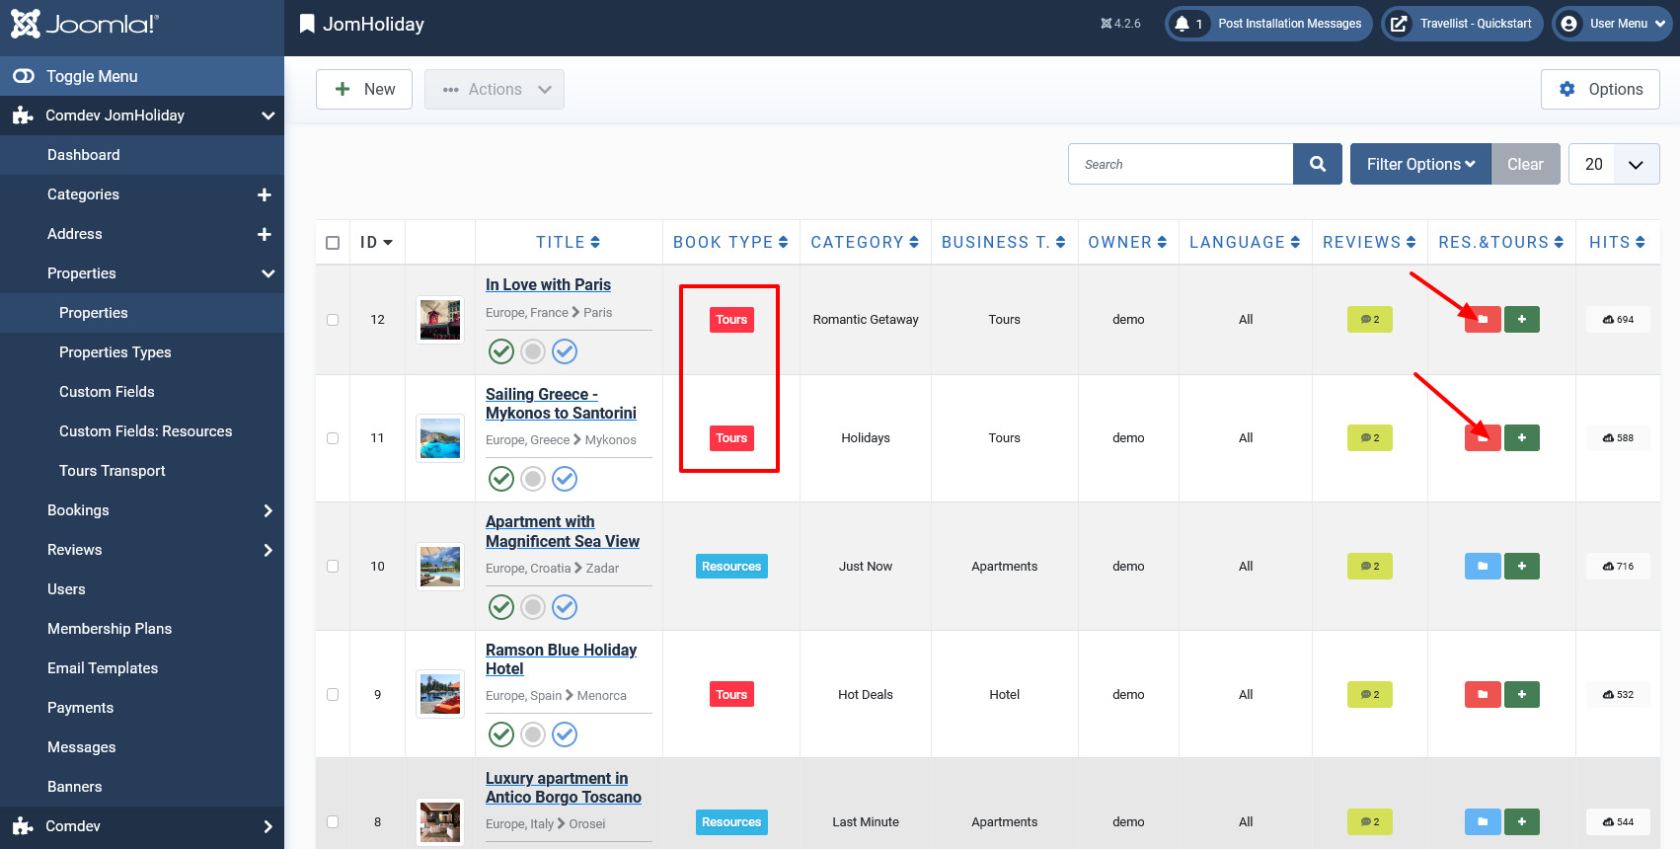
To view the tours attached to a listing, click the red folder icon. and Click on Tour title:
Edit tour tab
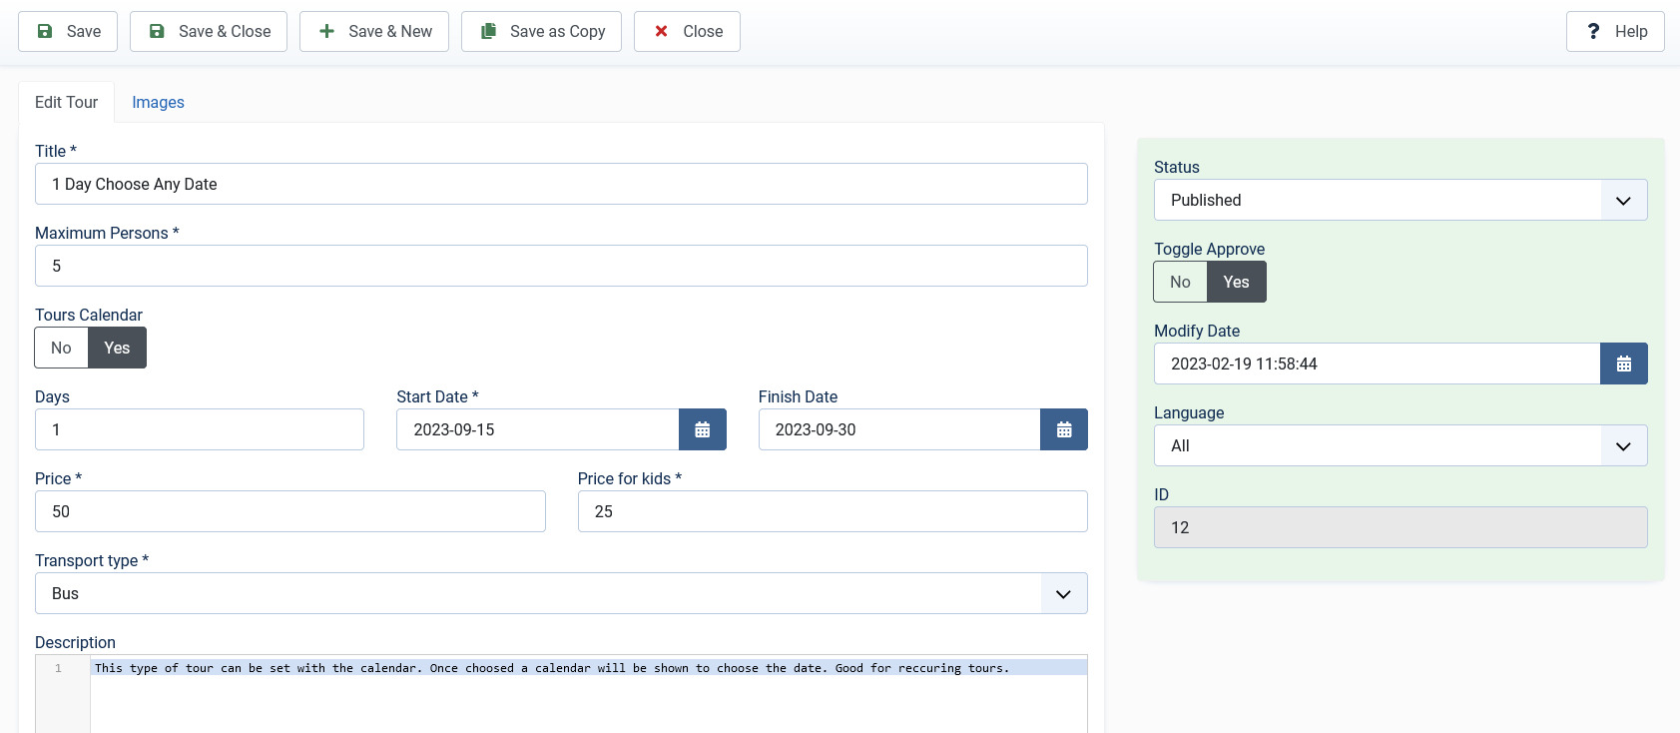
This tab provides options to create a name and edit a tour.
Provide the options as seen in the following table.
| Title | Provide a name for the tour. |
| Maximum Persons | Maximum number of people that can be accommodated within a tour. |
| Start Date | Tour start date |
| Days | Duration of the trip in days |
| Price | Price per one Adult |
| Price for kids | Price per one Child |
| Transport Type | Available Transport (configured under Tours Transport) |
| Description | Description of the trip |
Images tab
This tab includes information about images and videos attached to the listing. Before you can add images to the tour, you must save your tour at least once. This ensure that all the other data you have filled for the listing does not disappear after the images are added.
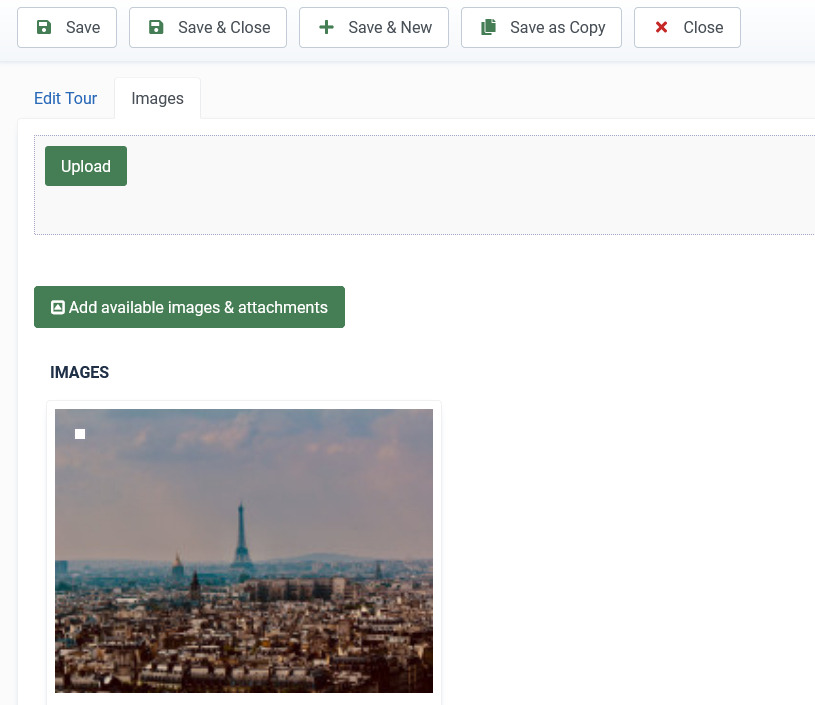
The Images tab can be seen as shown in the following image:
Screen 4: Images tab
Provide options as seen in the following table.
Images |
Add file area |
Add Files |
Click to select the image that needs to be uploaded. |
|
Drag & Drop Files Here |
Drag a bunch of images to this area to upload multiple images. |
||
|
Add available images & attachments |
Click to add already uploaded images and attachments to this listing. |
||
|
Images area |
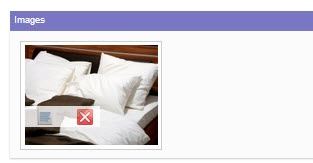
Editing an Image |
Click the Click the |

