Venue
Overview
Venues are locations where the event is to be held. You can add arenas, concert halls, or more based on your requirements. Before you create Venues, ensure that you have created Venue Categories.
Creating A New Venue
To create a new Venue, click New. The following image shows the venues listing in the venues administration screen.

Screen 1: Venues listing
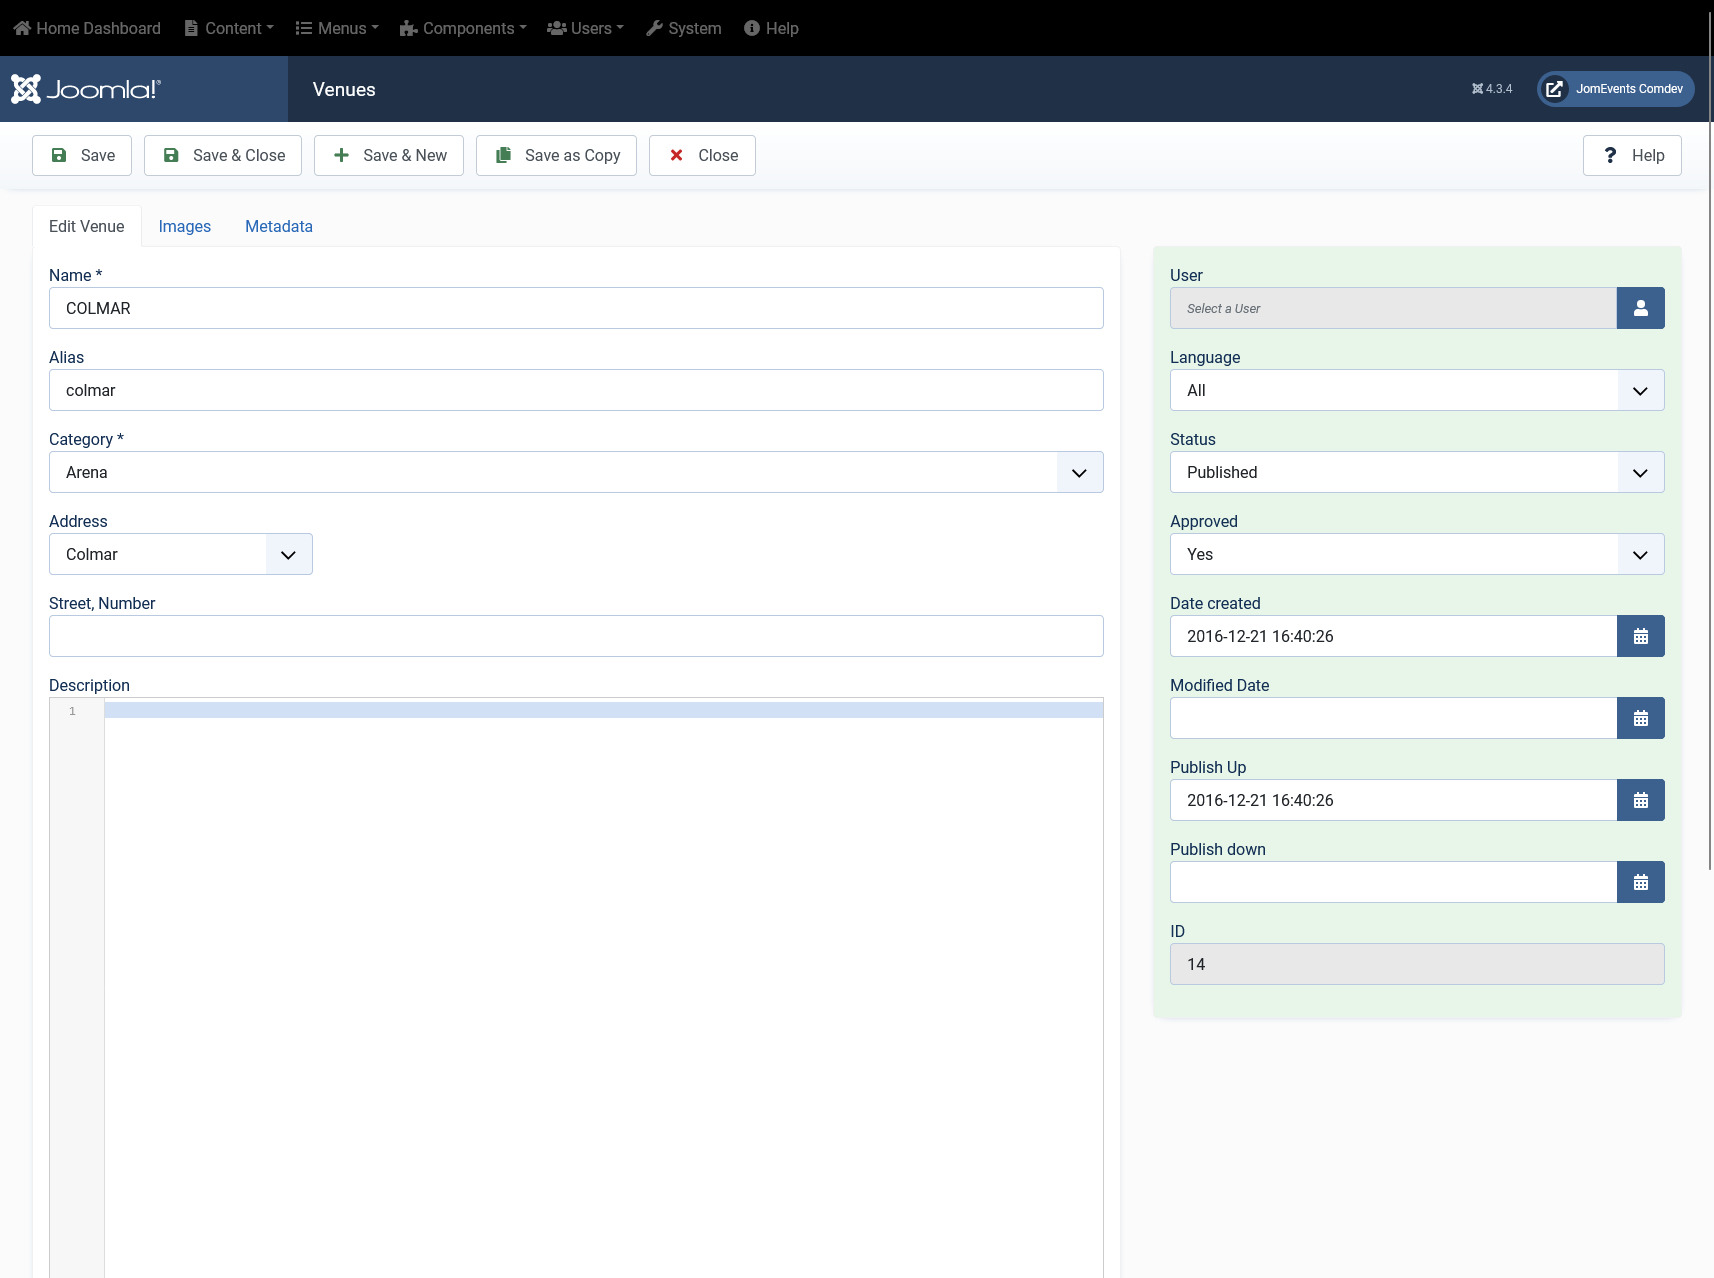
Edit Venue tab
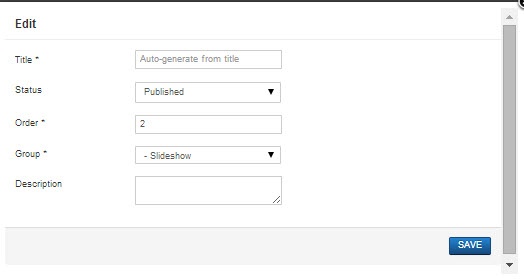
To edit a venue, either click the venue or select the check box next to the venue and click Edit.
Provide the options as shown in the following table.
|
Name |
Name for the membership plan. |
|---|---|
| Alias | URL alias for “SEF/SEO” URL. |
|
Category |
Category where the listing will be published. |
|
Address |
Choose the address of the venue. |
|
Street, Number |
Enter the street address of the venue. |
|
User |
Select the JomEvents user for the venue. |
|
Status |
“Published” Items will be visible in the front-end. |
|
Approved |
Choose if the Venue is approved or not (Y/N) |
|
Language |
Choose the language for the venue. |
| ID | This field is auto-populated. |
| Description | Type your description here, the functionality is the same as main Joomla articles. |
|
Article |
Click to select Joomla articles that are related to the venue. |
| Image | Click to select the images related to the venue. |
| Toggle editor | Click to toggle between rich text and plain text editors. |
| Latitude |
It utilizes the GEO-location based on Google Maps. Provide the latitude information for the location mapping. |
| Longitude |
The information provided in this field is used to map the exact location. It utilizes the GEO-location based on Google Maps. Provide the longitude information for the location mapping. |
| Map Search | Search for a specific location. Type in the location and press Enter to go to the exact location. |
Understanding the Location area in Edit listing tab
Let us understand how to provide the address and Street/House No for providing the exact locations on the map. When you provide the address, street and House No. in the backend when creating venues, the location position automatically. If the House No. is not provided, additional location fields needs to be used.
Mapping using longitudes and latitudes
If you provide the latitudes and longitudes, and the Maps Search setting is left blank, the location mapping is done based on these parameters as shown in the following image.
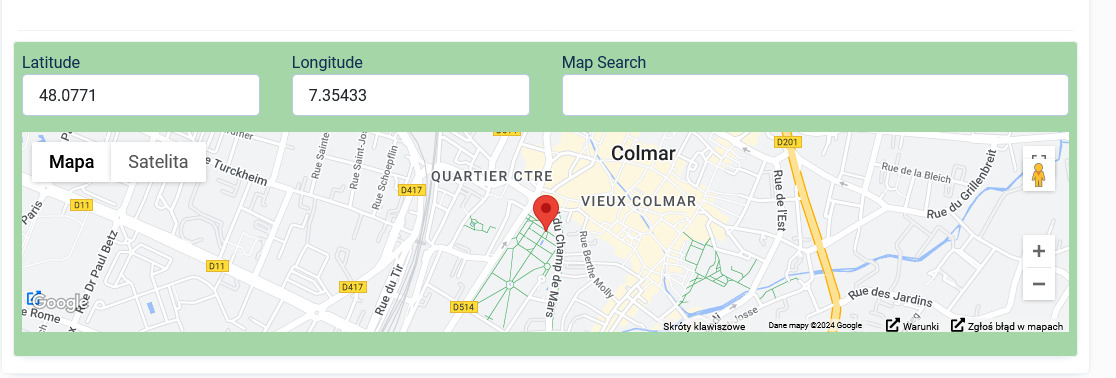
Screen 3: Map using longitudes and latitudes values
Mapping with Map Search values
If the Map Search field has a value provided to it, it takes precedence as shown in the following image. If the Map Search field value is given as “New York”, the location will map to this location.
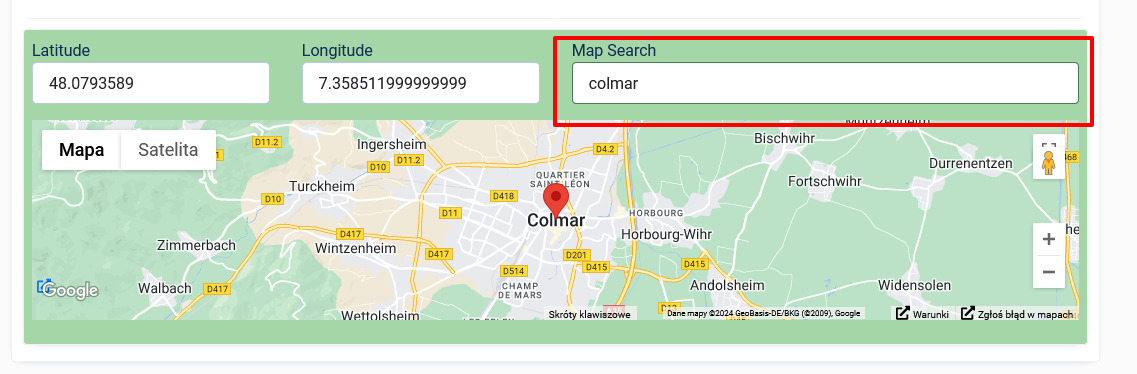 Screen 4: Map using Map Search Field values
Images tab
This tab includes information about images and videos attached to the listing. Before you can add images to the listing, you must save your listing at least once. This ensure that all the other data you have filled for the listing does not disappear after the images are added.
The Images tab can be seen as shown in the following image:
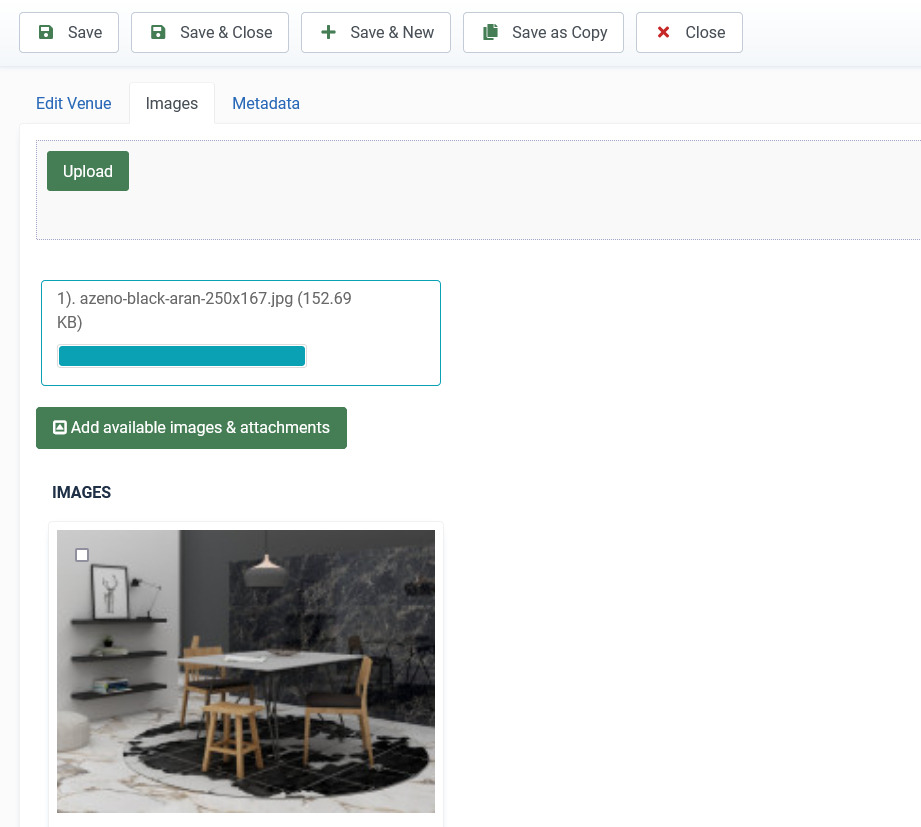

Screen 7: Images tab
Provide the options as shown in the following table.
|
Images |
Add file area |
Add Files |
Click to select the image that needs to be uploaded. |
|
Drag & Drop Files Here |
Drag a bunch of images to this area to upload multiple images. |
||
|
Add available images & attachments |
Click to add already uploaded images and attachments to this listing. |
||
|
Images area |
Editing an Image |
Click the Click the |
|
|
Attachments area |
Click the Click the Attachments are detected automatically based on file extension that’s are allowed in Configuration . |


Publishing tab
After you have provided the above information, you can provide the publishing information in the Publishing tab
You can change the values for the given options using the following table.
|
Created Date |
Date when the entry was created. |
|
Start Publishing |
Date when publishing needs to start in case of limited viewing of the field. |
|
Finish Publishing |
Date when publishing needs to stop in case of limited viewing of the field. |
|
Modified Date |
Date when the entry was modified. |
Metadata tab
This tab includes the Meta title and Meta description for the listing.