Companies
Overview
JomEstate has a built in mechanism to create/control Real Estate Companies and Agents. Each Company can have unlimited Agents, however an Agent can join only one Company. The main difference between Agents and Company is that a Company can control Agents listings and Agents itself by adding or deleting them.
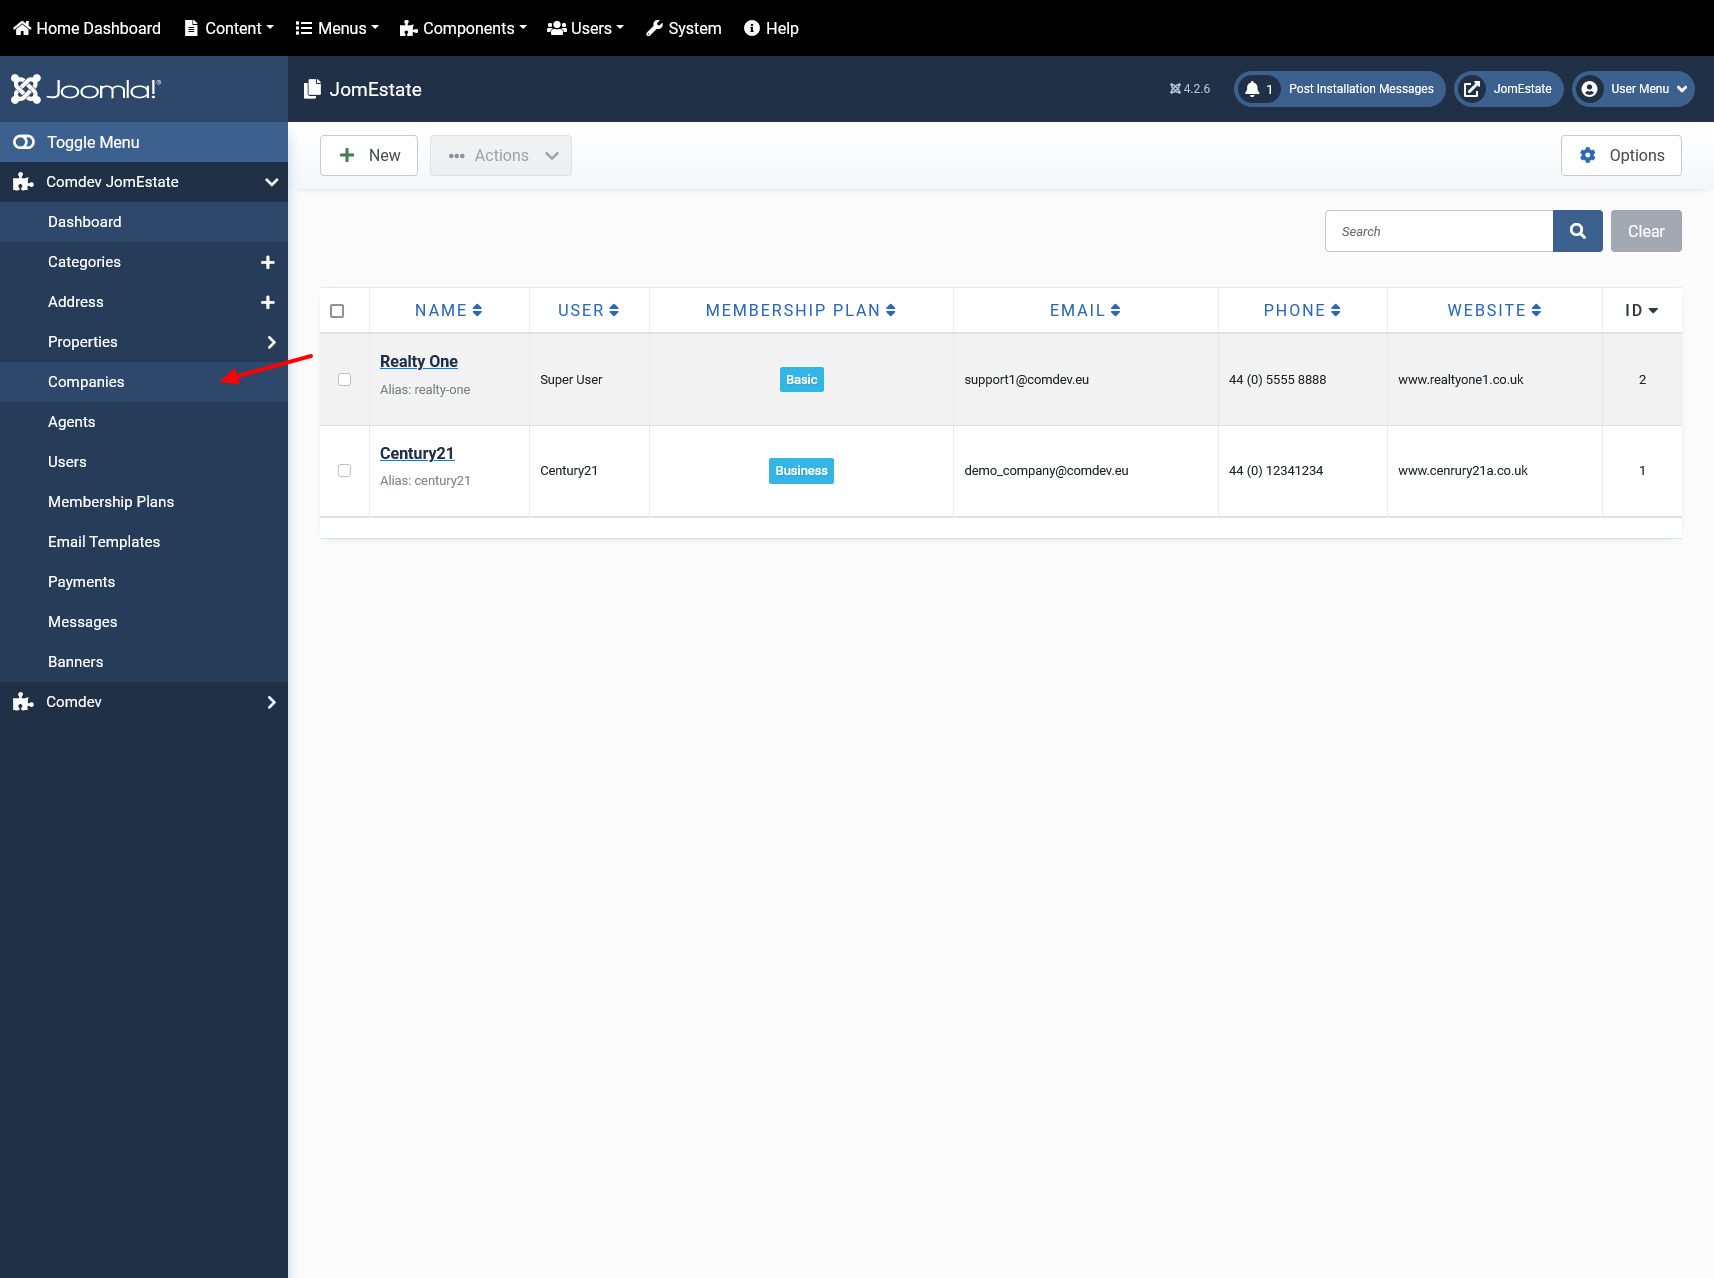

Screen 1: Companies listing
Company Agents
Each Company or Agent needs to have an actual Joomla user-assigned to it:
- This user needs to be unique for each Company or Agent
- When adding an Agent from the Front Admin by the Company, Joomla user account needs to be created for that Agent
- Agent does NOT have any membership.The Agent inherits the membership details of the company he belongs to.
There are two user types in JomEstate:
- Public User who can add listings.
- Companies that have Agents.
Creating a new Company
To add a Company to JomEstate, click New.
Edit Company tab
This tab includes information such as company logo, address information, contact details and so on.
Provide the values using information given in the following table.
| Options | Usage |
|---|---|
|
Name |
Title for the Company. |
|
Alias |
URL alias for “SEF/SEO” URL. |
|
Logo |
Click to upload the company logo. This logo will be seen on the company tab on listings and item view. |
| Phone | Provide the phone number for your company. |
| Website | Provide the website URL for your company. |
| Background | Set desired tab background color to match the Company logo. |
|
User |
Select a Joomla user account that will be assigned to the Company. It has to be unique for each Company. |
|
Membership |
Choose a membership plan assigned for the Company. |
|
Address |
Select the appropriate locations to provide your address. |
|
Street, House no. |
Detailed address like street and house number. |
|
Intro text |
Provide a short description about the company. |
| Text area |
Provide a description for the listing. You can create a short description as well a long description.
|
|
Article Button |
Click to select a relevant article. If an article is provided, it can be seen under the Details tab in the listing. |
|
Page Break Button |
Insert a page break in the displayed text. |
|
Toggle editor Button |
Toggle between plain text and rich text editor |
| Read More |
Click to separate the short description in the text area. In the above image, the red dotted line appears when you click Read More. Any content above the red line is the short description, while the entire content is the long description. Also, note that if there is no content after the Read More tag, the event description will be blank when users view the listing. Ensure that you have content after the Read More tag.
|

Images tab
This tab is used to add images to the company gallery
Provide the options as shown in the following table.
| Add Image | Click to upload images to the company gallery. |
| Images area |
Click the
Click the |

These images will be displayed under Company details page as shown in the following image.
