Live Search Maps Module
Overview
This is an extra paid module available for Business Package, can be also purchased separately.
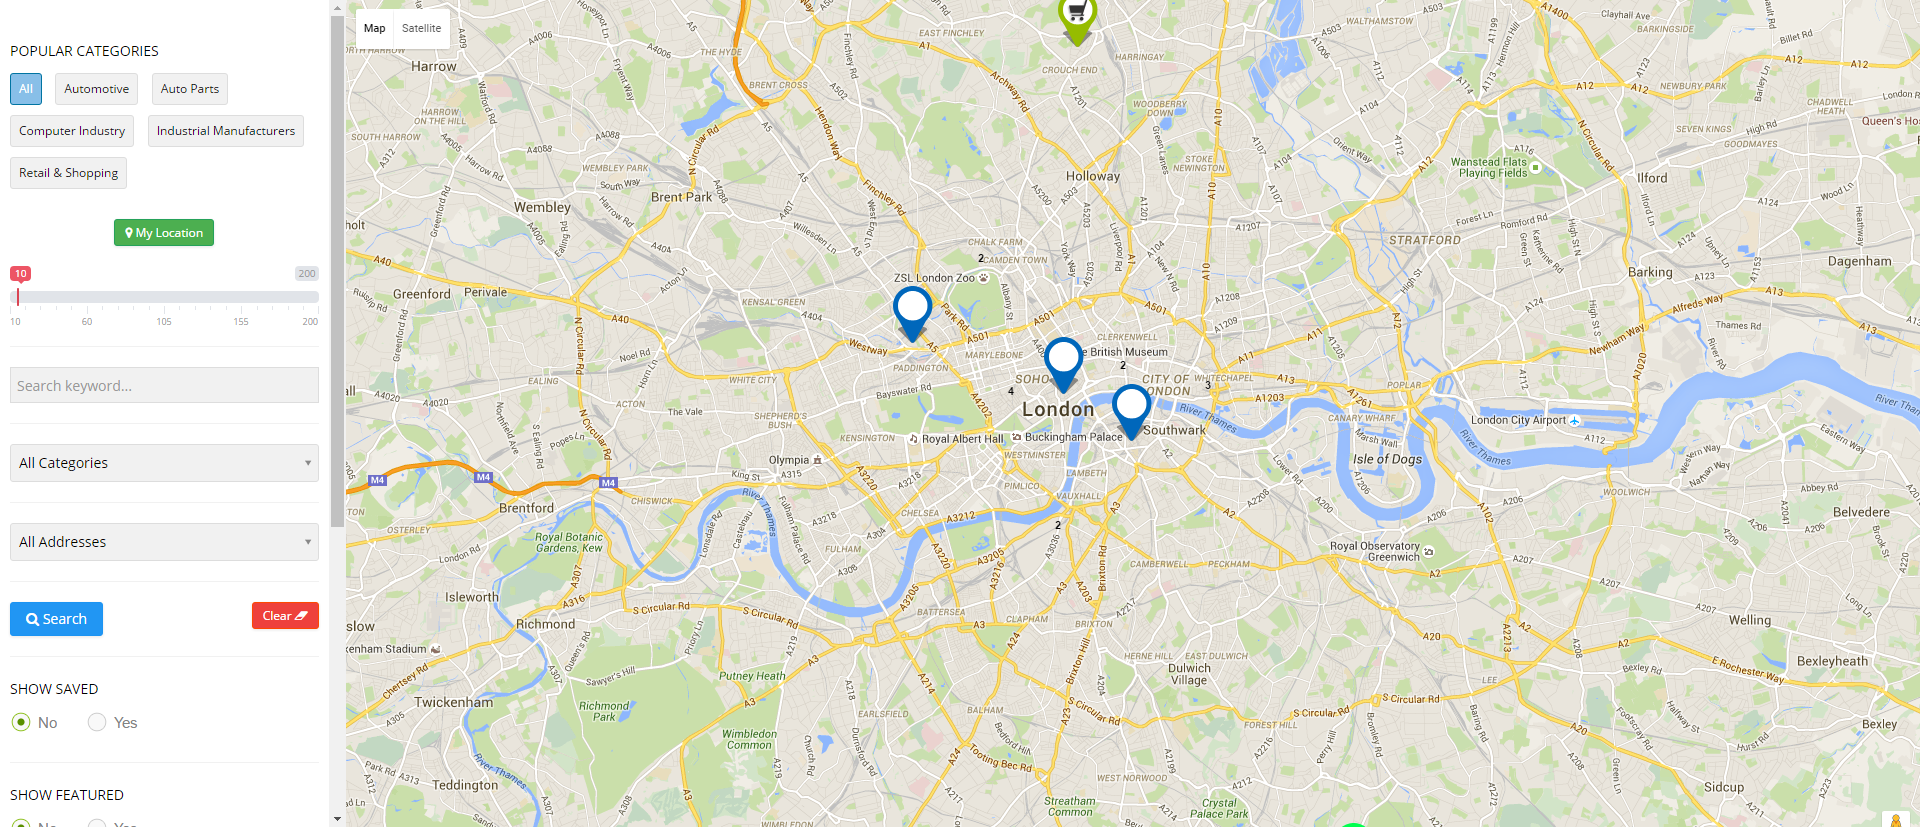
This module helps you view all the listings under full view or windowed map To view all the available modules, click Extension > Module Manager.

Screen 1: Module Manager Listing
To create a new module, click New. Select the EXTENSION_NAME Maps module. Provide the information as given in the following sections. Click Save to save the module.
Editing the Maps Module
To edit the module, click on the module link or select the checkbox next to the module name, and then click Edit.
The following image shows the module edit screen.
Screen 2: Module tab
Module tab
This tab controls the layout where the search panel is to be displayed on the screen.
Screen 3: Module tab
Provide the options as per the following table.
|
Layout |
Select the required layout in the Layout field. The available options are:

|
| Display limit | Limit number of items shown on the map |
| Map width | Set width of the map |
| Map height | Set height of the map |
|
Top margin |
Set top margin of the map |
|
|
Display category selection on the left of the wide map layout |
|
|
Display address selection on the left of the wide map layout |
|
|
Display keywords selection on the left of the wide map layout |
|
Position |
Select the position based on your Joomla Template. |
|
Start Publishing |
Provide a date when the search panel should be published. |
|
Finish Publishing |
Provide a date when the search panel should be unpublished. |
|
Access |
Provide access level for the panel.
|
|
Ordering |
Provide the order in which the side panel should appear. If more than one module is positioned at the same location, you can set the order of appearance in this field. |
|
Language |
Select the language for which you want to display this panel. For each language, you must create a new JomDirectory Search module. |
|
Note |
Provide additional information. |
Menu Assignment tab
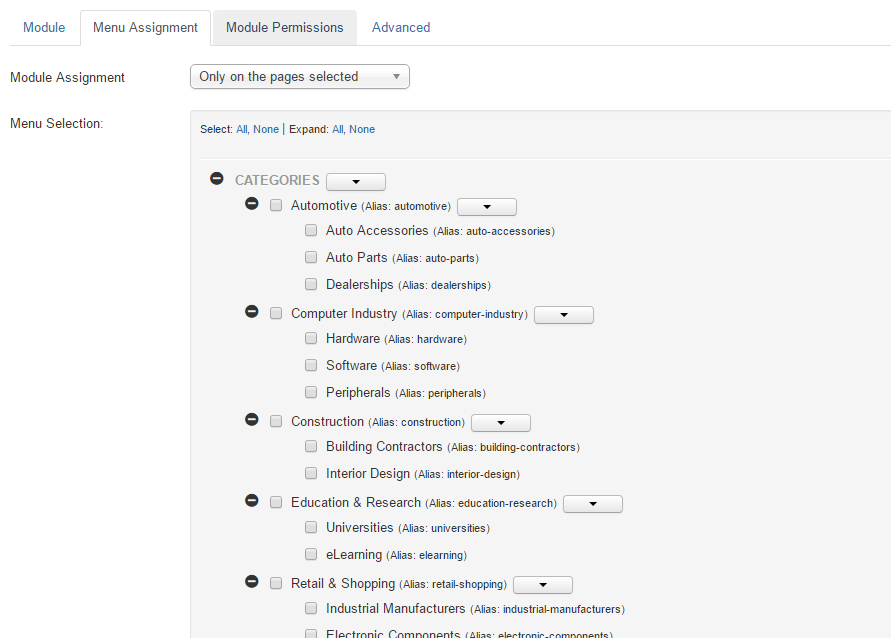
This tab controls where the module should be displayed. You can decide if it should be displayed on all pages for the site or just selective pages.

Select the required menu for module assignment. The available options are:
- On all pages
- No pages
- Only on the pages selected
- On all pages except those selected
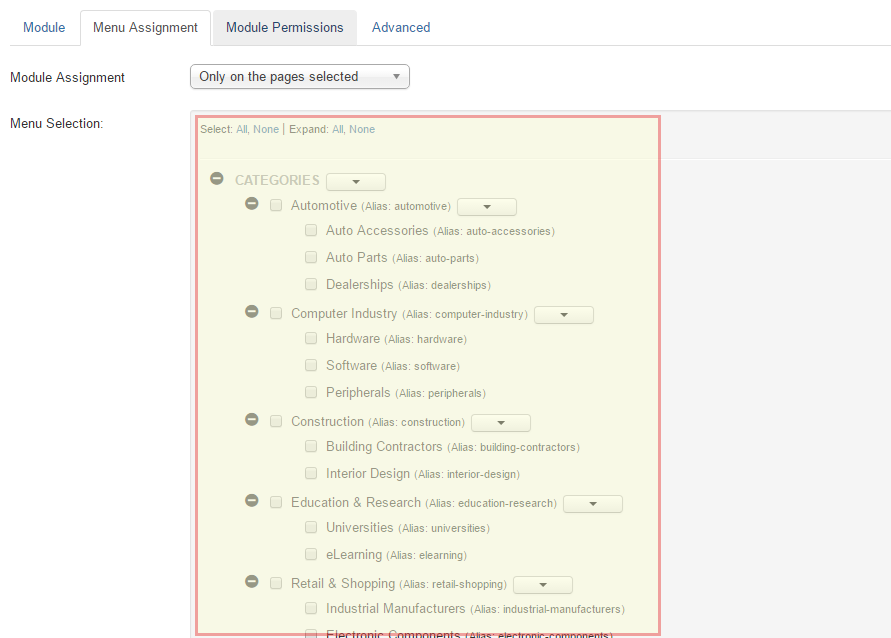
For the last two options, the screen is as shown in the following image:

Creating custom category markers
When any listing is displayed on the map, it is shown as a pin. This pin icon is as in the default template. To modify this pinned icon as per your category, marker image needs to be placed under module images directory:
The file name should be same as the category. The spaces need to be replaced with dashes " - " and the "marker" prefix. So, suppose category name is Auto Parts, then the file name for the marker should be marker_auto-parts.png.


