# User Guide # Front Admin Overview ### Overview The dashboard gives a quick snapshot of all the tasks that you can perform using the Front Admin. It also provided multiple menu items that you can use to create listings, view listings, view membership plans, and so on. The other options that you can control are approving reviews, viewing statistics, upgrading membership for a particular user, and so on. For the Menu to be able to access the JomHoliday Front Admin, certain settings need to be made. You must create the Profile Edit Menu link, Admin Menu link, and Profile View Menu link in the JomHoliday Front Admin configurations to be able to access Front Admin. For more information, see the Front Admin Options section in the [Menu Items](http://confluence.comdev.eu/display/JH3/Menu+Items#MenuItems-FrontAdminOptions) documentation. ### Accessing the dashboard When you access the home URL for JomHoliday extension, do the following: 1. Click **Front Admin**. 2. Provide the login details for the required user and click **Submit**. The dashboard with various options can be seen as shown in the following image. [![obraz.png](https://wiki.comdev.eu/uploads/images/gallery/2024-03/scaled-1680-/Oroobraz.png)](https://wiki.comdev.eu/uploads/images/gallery/2024-03/Oroobraz.png) **Screen 1: Dashboard screen** You can click the options as seen in the following table.
##### Report Most Viewed graph View the statistics for the site based on the listings viewership.
##### Membership Upgrade Your Membership NOW! Upgrade to another membership plan. Click Upgrade on the plan tab for the plan you want to upgrade to as shown here. [![obraz.png](https://wiki.comdev.eu/uploads/images/gallery/2024-03/scaled-1680-/cQTobraz.png)
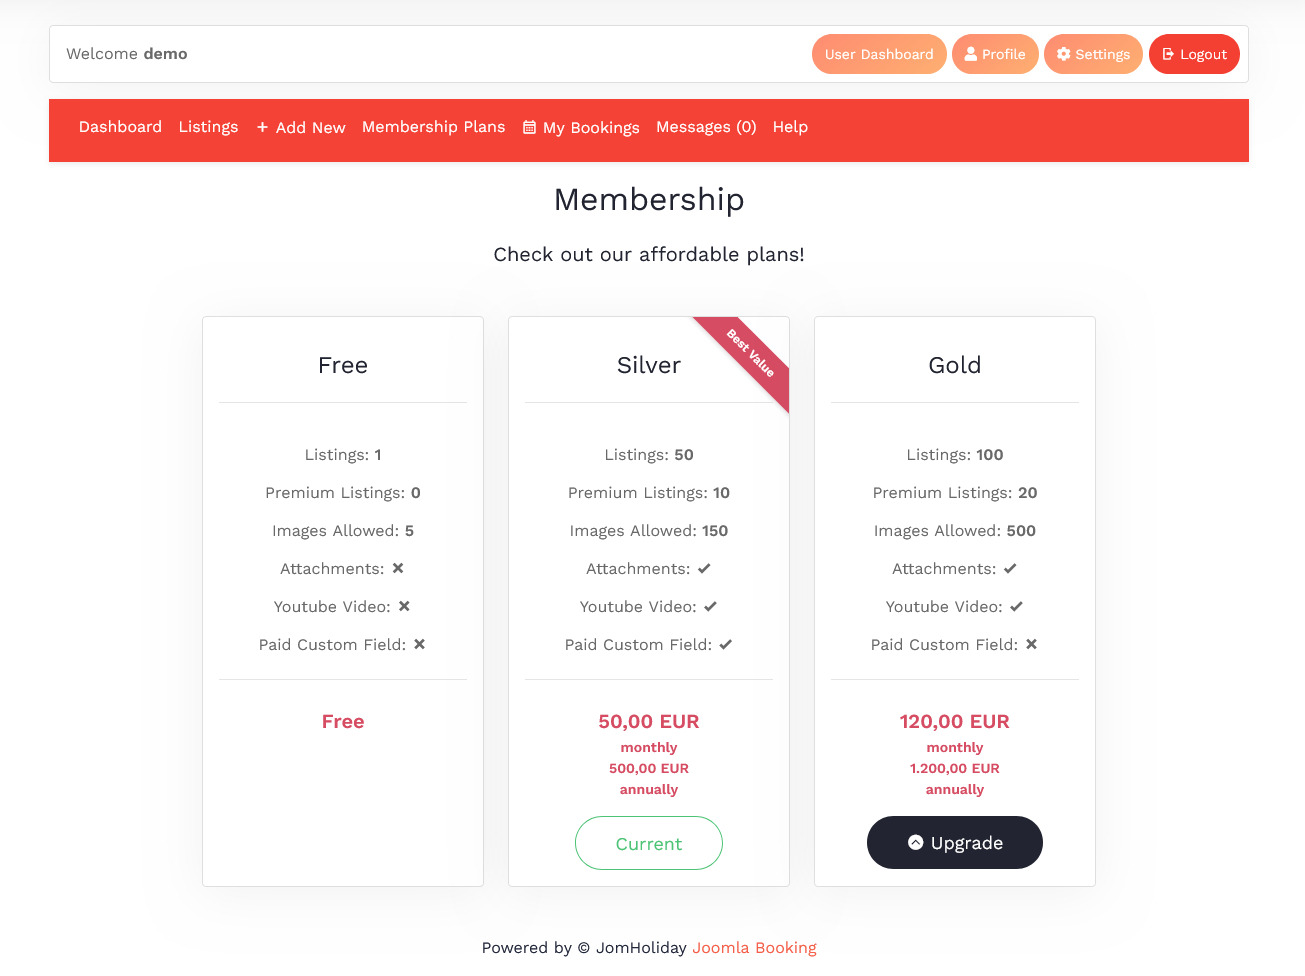
](https://wiki.comdev.eu/uploads/images/gallery/2024-03/cQTobraz.png)
##### Profile Profile View the profile details for your profile.
##### Latest Bookings Click the review to see the listing page it applies to. If you want to delete the comment, click **Delete**.
Approve comments appears only when enabled under JomHoliday Options -> Front Admin settings
# Manage Listings ## Overview You can view all the listings created for your site or create a new listing. The listings created let you add descriptions, images, provide ratings, and much more. ### Creating a New Listing The following image shows the Listings screen. [![obraz.png](https://wiki.comdev.eu/uploads/images/gallery/2024-03/scaled-1680-/fzWobraz.png)](https://wiki.comdev.eu/uploads/images/gallery/2024-03/fzWobraz.png) **Screen 1: Listing screen** The following table explains the different options seen on the screen.
**Button** **Usage**
**Insert New** Creates a new Address entry. You must create separate entries for each level of depth that you need.
**Publish** Publishes the created address entry.
**Unpublish** Removes the entry from the list of published address entries
**Delete** Deletes the address entry that is not required anymore.
### Adding a new listing To create a new listing, click **Add New** from the Dashboard Menu list. The new listing page is displayed. ### New Listing tab This tab provides options to add title, description, select category, and other options for the Listing as seen in the following image: The following table shows the options available:
**Area** **Options** **Usage**
**Edit Listing area** Title Title for the Listing.
AliasProvide an SEO-friendly alias.
CategorySelect the category for the listing.
TypesSelect the business type for the listing.
Advance PaymentSelect the advance payment that the guests should pay to confirm the booking in percentage.
Text Area Provide a description for the listing.
Page Break *Button* Insert a page break in the displayed text.
Toggle editor *Button* Toggle between plain text and rich text editor
Read More Button Insert a separation for creating short description. Any content above the dotted line is displayed as the short description.
In the above image, the red dotted line appears when you click **Read More**. Any content above the red line is the **short description**, while the entire content is the **long description**. Also, note that if there is no content after the **Read More** tag, the event description will be blank when users view the listing. Ensure that you have content after the **Read More** tag.
Status Select the required status. - Published - Unpublished - Trashed - Archived
Featured Enable to make the listing appear as featured listing.
Feature Count is being checked when saving listing for the selected Membership Plan.
Language Select the language for which the listing needs to appear for. [For multiple languages, you must create separate entries for each language](http://confluence.comdev.eu/display/JD2/Multilingual+Site).
Tags Provide the tags related to the listing.
**Address area** Address Address of the listing
Full address Street and house number of the listing - If both Address and Full Address specified, map location will position automatically.
**Location area** Latitude It utilizes the GEO-location based on Google Maps. Provide the latitude information for the location mapping.
Longitude The information provided in this field is used to map the exact location. It utilizes the GEO-location based on Google Maps. Provide the longitude information for the location mapping.
Maps Search Search for a specific location. Type in the location and press Enter to go to the exact location.
For more information about how the location mapping is done in the listing, see [Listings](http://confluence.comdev.eu/display/JD2/Listings) in the Administrative Guide.
### More Options tab This tab includes all the custom fields created for a particular category. If the custom field is not applied to a specific category, it can be seen for all categories when creating a listing. The following image shows the More Options tab screen. [![obraz.png](https://wiki.comdev.eu/uploads/images/gallery/2024-03/scaled-1680-/clhobraz.png)](https://wiki.comdev.eu/uploads/images/gallery/2024-03/clhobraz.png) **Screen 3: Other Details tab** For more information about creating custom fields, see [Custom Fields](http://confluence.comdev.eu/display/JD2/Custom+Fields+Templates). ### Images tab ![](https://wiki.comdev.eu/download/attachments/7438875/userguide_listing_jh2.jpg) **Screen 4: Images tab** To add an image, do the following: 1. Click **Add Image**. 2. Provide options as seen in the following image. ![](https://wiki.comdev.eu/download/attachments/7438875/Listings_Images1.jpg)You can provide values using the following table. 1.
**Title or alias** Provide a title for the Image.
**Categories** Select from the following options: - Slideshow - detailed view main gallery - Gallery - in gallery tab - Logo - displayed in sidebar under custom fields and over the image with transparency in listings page.
**Status** Select the required status. - Published - Unpublished - Trashed - Archived
**Order** Order in which you want the image to appear.
**File** Click Choose File and provide the image.
**Description** Provide a description about the image.
Click **Save**.
For more information about editing images or deleting images, see [Images](http://confluence.comdev.eu/display/JH3/Listings) in the Administrative Guide. You can also provide YouTube video links for the listing. Provide the link as shown in the above image. ### Addons tab You can select the addons that will be provided for the listing. ![](https://wiki.comdev.eu/download/attachments/7438875/userguide_listing_jh3.jpg) **Screen 5: Addons tab** ### Attachments tab Click the ![](https://wiki.comdev.eu/download/attachments/7438875/Listings_edit_icon.jpg)Edit icon to edit an attachment that is linked to the listing. Click the ![](https://wiki.comdev.eu/download/attachments/7438875/Listings_close_icon.jpg) Delete icon to delete the attachment.
Attachments are detected automatically based on file extension that’s are allowed in Configuration.
Some features or tabs are enabled based on the user membership. If the user is attached to a membership plan that does not allow adding attachments, he will not be able to see any options under the Attachments tab. These membership limitations are checked for when you save the listing.
# Manage Resources ## Overview Resources are specific details about a listing. For example, in case of a Hotel, they can be the different types of rooms that the hotel offers, while in case of a property with multiple villas, it can be different types of villas that are offered. Bookings are always made against a resource type that exist for a listing. ### Editing a resource You can edit an existing resource that belongs to the listing, or click Insert New to create a new resource. The existing resources can be seen by clicking the icon next to the listing on the Listings tab. The following screen is seen. [![obraz.png](https://wiki.comdev.eu/uploads/images/gallery/2024-03/scaled-1680-/rV2obraz.png)](https://wiki.comdev.eu/uploads/images/gallery/2024-03/rV2obraz.png) **Screen 1: Resources screen** Click on the existing resource to make edits to it. The following image shows the editing screen for the resource. [![obraz.png](https://wiki.comdev.eu/uploads/images/gallery/2024-03/scaled-1680-/sKtobraz.png)](https://wiki.comdev.eu/uploads/images/gallery/2024-03/sKtobraz.png) **Screen 3: Edit resources screen** For more information about each of these specific fields, see [Resources ](https://wiki.comdev.eu/display/JH3/Listings+Resources)documentation in the Administrative Guide. In the calendar seen in the above image, the dates marked with black ink are booked dates. This means there are no additional resources available for those dates. While, the dates marked with red ink are dates when resources are still available. This means a guest can make bookings against these dates marked in red. Each date shows the price of the resource on that day and how many resources are left as shown in the following image. ![](https://wiki.comdev.eu/download/attachments/7439320/userguide_resour_jh3.jpg) **Screen 4: Dates display** You can modify the price for the resource on each day by clicking on the date. Provide the pricing for that day for the resource. The following image shows the price window for the resource. ![](https://wiki.comdev.eu/download/attachments/7439320/userguide_reviews_jh5.jpg) **Screen 5: Price window** You can also provide promotional discounts for the listing on specific dates. After you provide the price for a date, the promotional discount window is seen as shown in the following image. Provide a percentage value as seen here. ![](https://wiki.comdev.eu/download/attachments/7439320/userguide_resour_jh4.jpg) **Screen 6: Promotional discount** # Manage Resource Bookings ## Overview Each user that is logged in to the front admin can create listings. Whenever a guest makes a booking against the listing created by the user, the booking details can be seen by navigating to the Listings tab. ### Viewing the bookings To view bookings against a listing, do the following: 1. From Front Admin, click the Listings tab. 2. Click the icon to view the resources associated with the listing 3. Click the icon from the resources listings as shown in the following image. All the resources that are available for that listing will be seen here. The bookings are made against each of the resource. [![obraz.png](https://wiki.comdev.eu/uploads/images/gallery/2024-03/scaled-1680-/dIBobraz.png)](https://wiki.comdev.eu/uploads/images/gallery/2024-03/dIBobraz.png) The bookings can be seen as shown in the following image. To delete a booking, select the check box next to the booking and click Delete. [![obraz.png](https://wiki.comdev.eu/uploads/images/gallery/2024-03/scaled-1680-/Tcdobraz.png)](https://wiki.comdev.eu/uploads/images/gallery/2024-03/Tcdobraz.png) **Screen 1: Bookings list** ### Editing a booking As the owner of the listings, you can provide additional notes to the bookings by editing the booking information. Otherwise you can see details of the booking. [![obraz.png](https://wiki.comdev.eu/uploads/images/gallery/2024-03/scaled-1680-/ZMHobraz.png)](https://wiki.comdev.eu/uploads/images/gallery/2024-03/ZMHobraz.png) **Screen 2: Edit screen** # User Membership ## Overview You can view the user membership plan details on the Front Admin page. If eligible for, you can also upgrade the user membership plan to a higher plan.
User membership plan can only be upgraded through the Front Admin. You can perform other membership tasks from the back end using information given in the [Membership](http://confluence.comdev.eu/display/JH3/Membership) section of the Administrative Guide.
The following screen shows the Membership details for the user. [![obraz.png](https://wiki.comdev.eu/uploads/images/gallery/2024-03/scaled-1680-/vT7obraz.png)](https://wiki.comdev.eu/uploads/images/gallery/2024-03/vT7obraz.png) **Screen 1: Membership details** To upgrade the user membership plan you can either click **Upgrade Your Membership NOW** or click the Membership tab on the Front Admin page. The membership plans that are available for upgrade are shown as seen in the following image. [![obraz.png](https://wiki.comdev.eu/uploads/images/gallery/2024-03/scaled-1680-/X9fobraz.png)](https://wiki.comdev.eu/uploads/images/gallery/2024-03/X9fobraz.png) **Screen 2: Membership plans** Click **Upgrade** to upgrade to the higher plan. You can then select an appropriate mode of payments and complete the transaction.
To see the Upgrade button for any plan, ensure that you have configured PayPal or other payment gateway details. For more information, see [PayPal Configuration](https://wiki.comdev.eu/books/installation-requirements-language/page/paypal-configuration "PayPal Configuration").
![](https://wiki.comdev.eu/download/attachments/7438876/userguide_member_jh2.jpg) **Screen 3: PayPal configurations** # Listing Messages {{@111}}